Windows VPN Tutorial
Easy and Fast Tutorial for Windows Users.

Warning:
Microsoft Windows is NOT as private as Linux, but we offer this VPN service for people unable to switch for various reasons.
First,
Please go to the billing website to get a subscription:
Click this Link
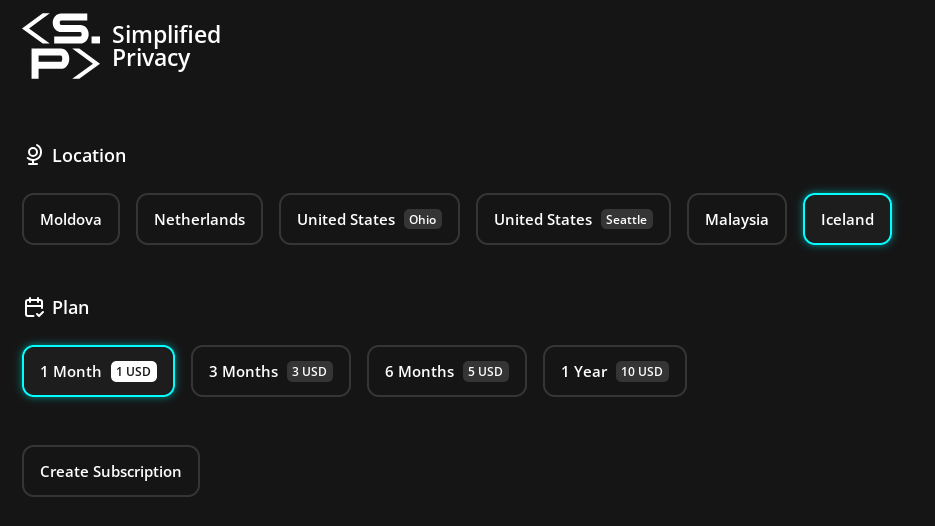
Select your Location & How Long:
In this example, we selected Iceland and one month. Note: this is a screenshot, do not push buttons on these screenshots. You’d do so on the website.
Save your billing code
The little copy-paste button to the right of the code copies it. Save it anywhere on your local computer, like a password manager.
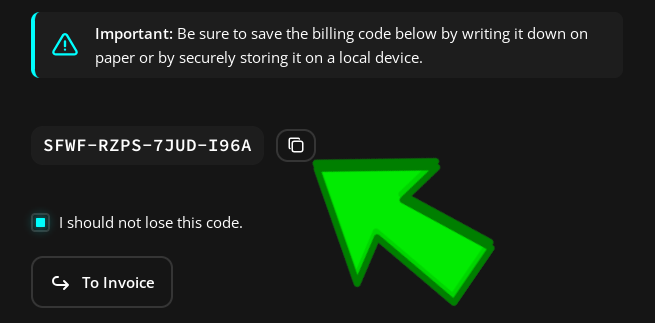
After you save it, then hit “Go to Invoice”
Pay
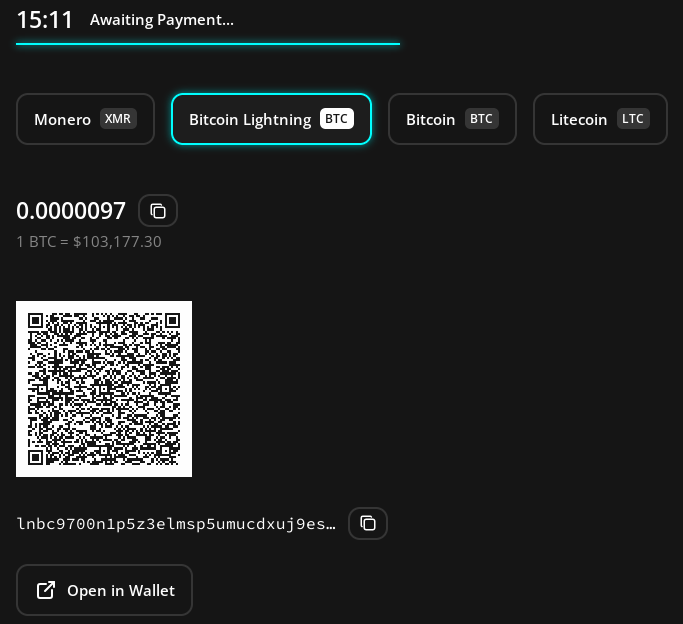
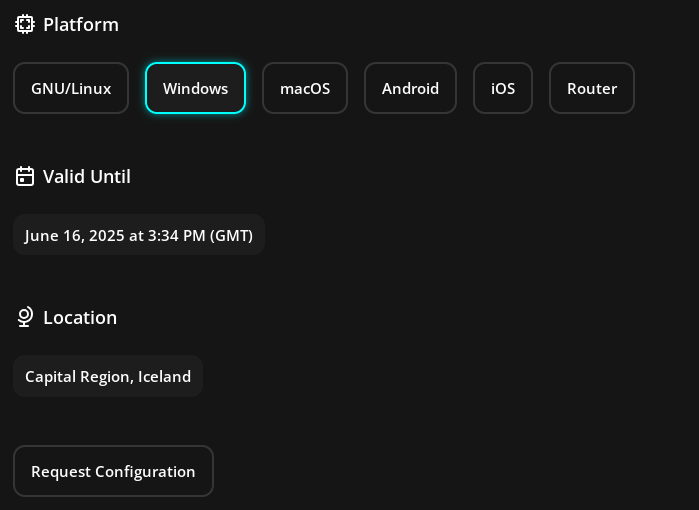
Select Windows
AFTER you pay, select “Windows”
Click the download button,
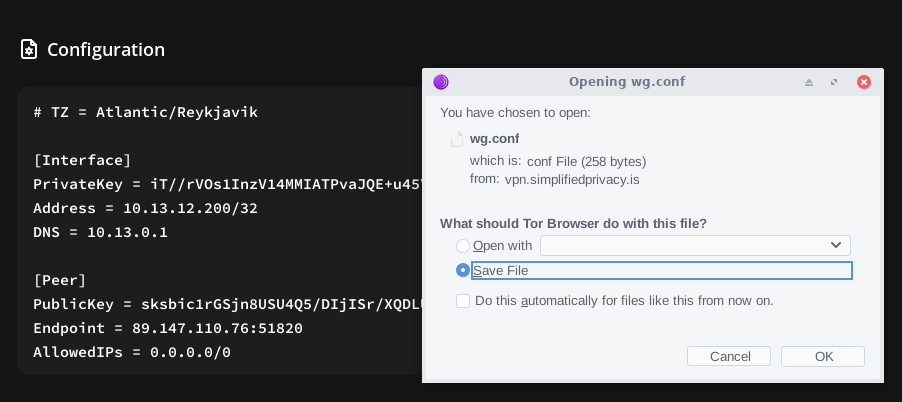
This file allows you to access the VPN.
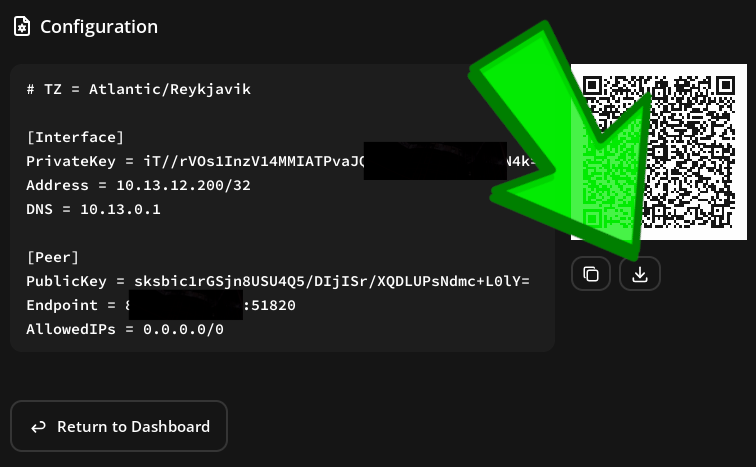
It’s just a text file with a “.conf” ending.
The technical name for it is a “WireGuard configuration file”.
Get App
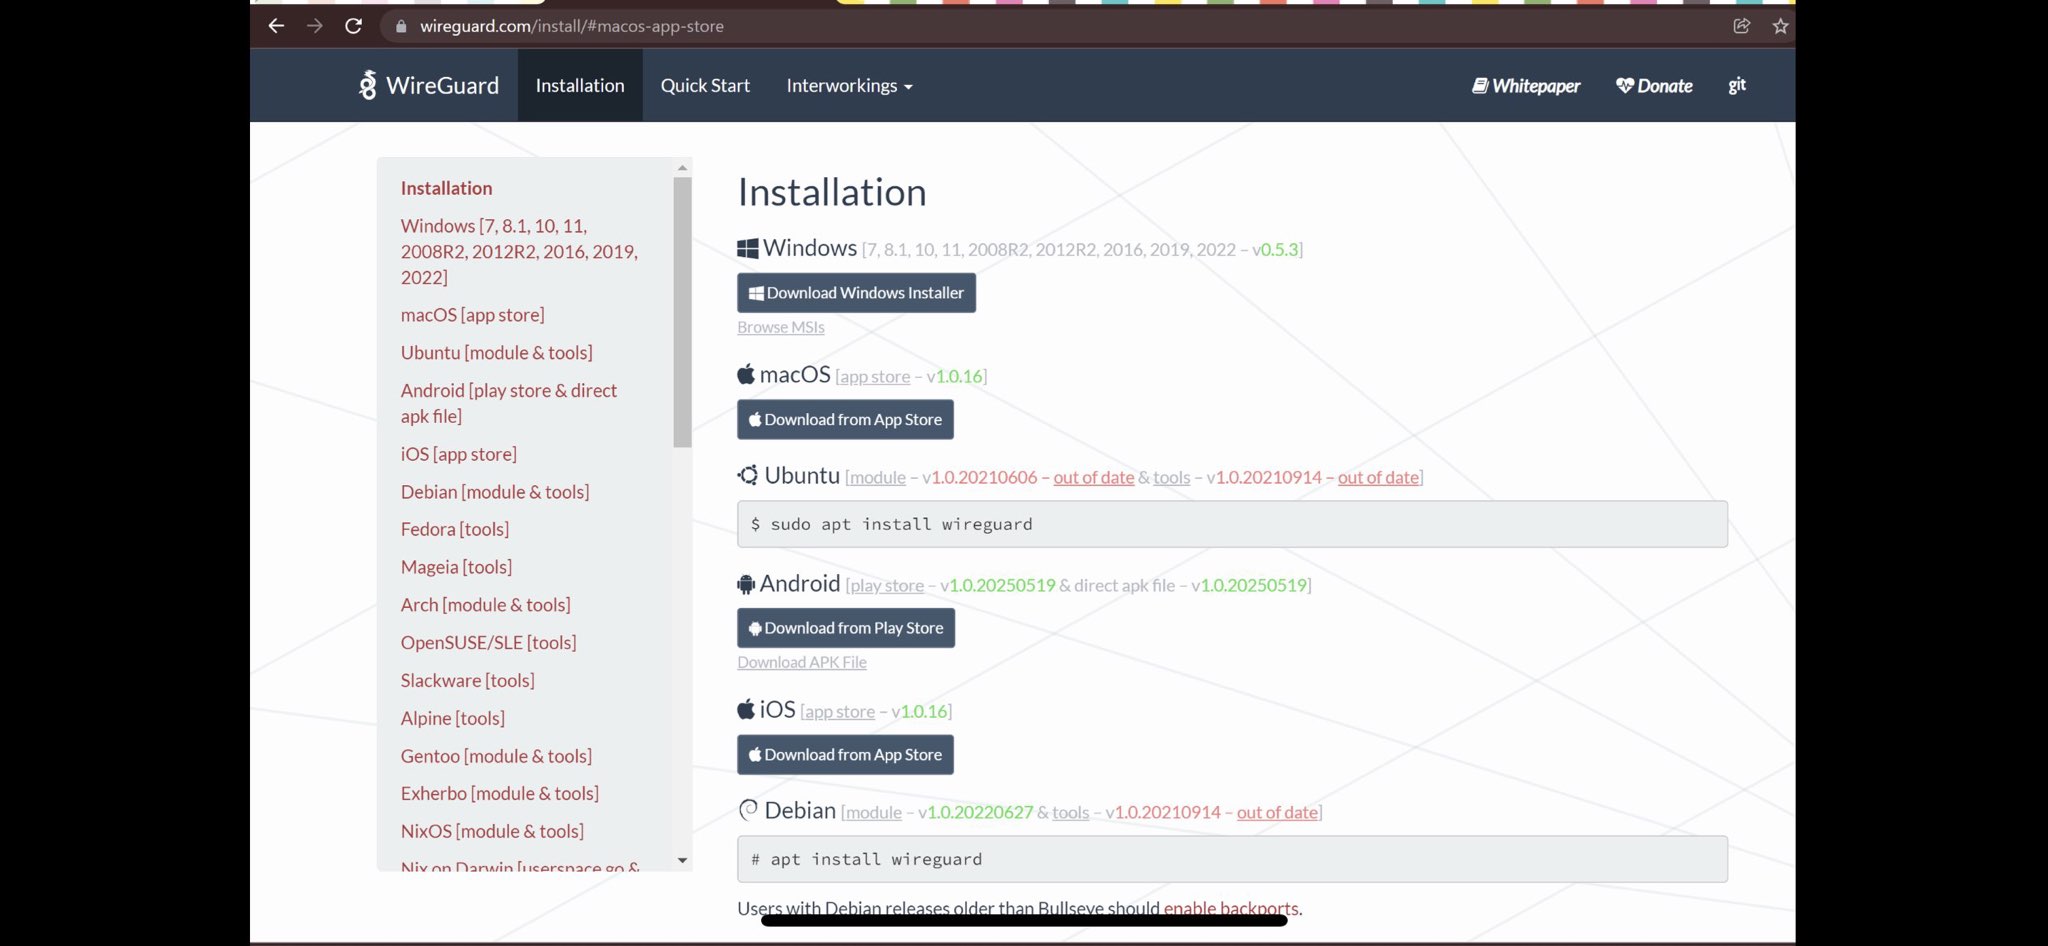
Get the Windows version of the WireGuard app from:
https://www.wireguard.com/install/
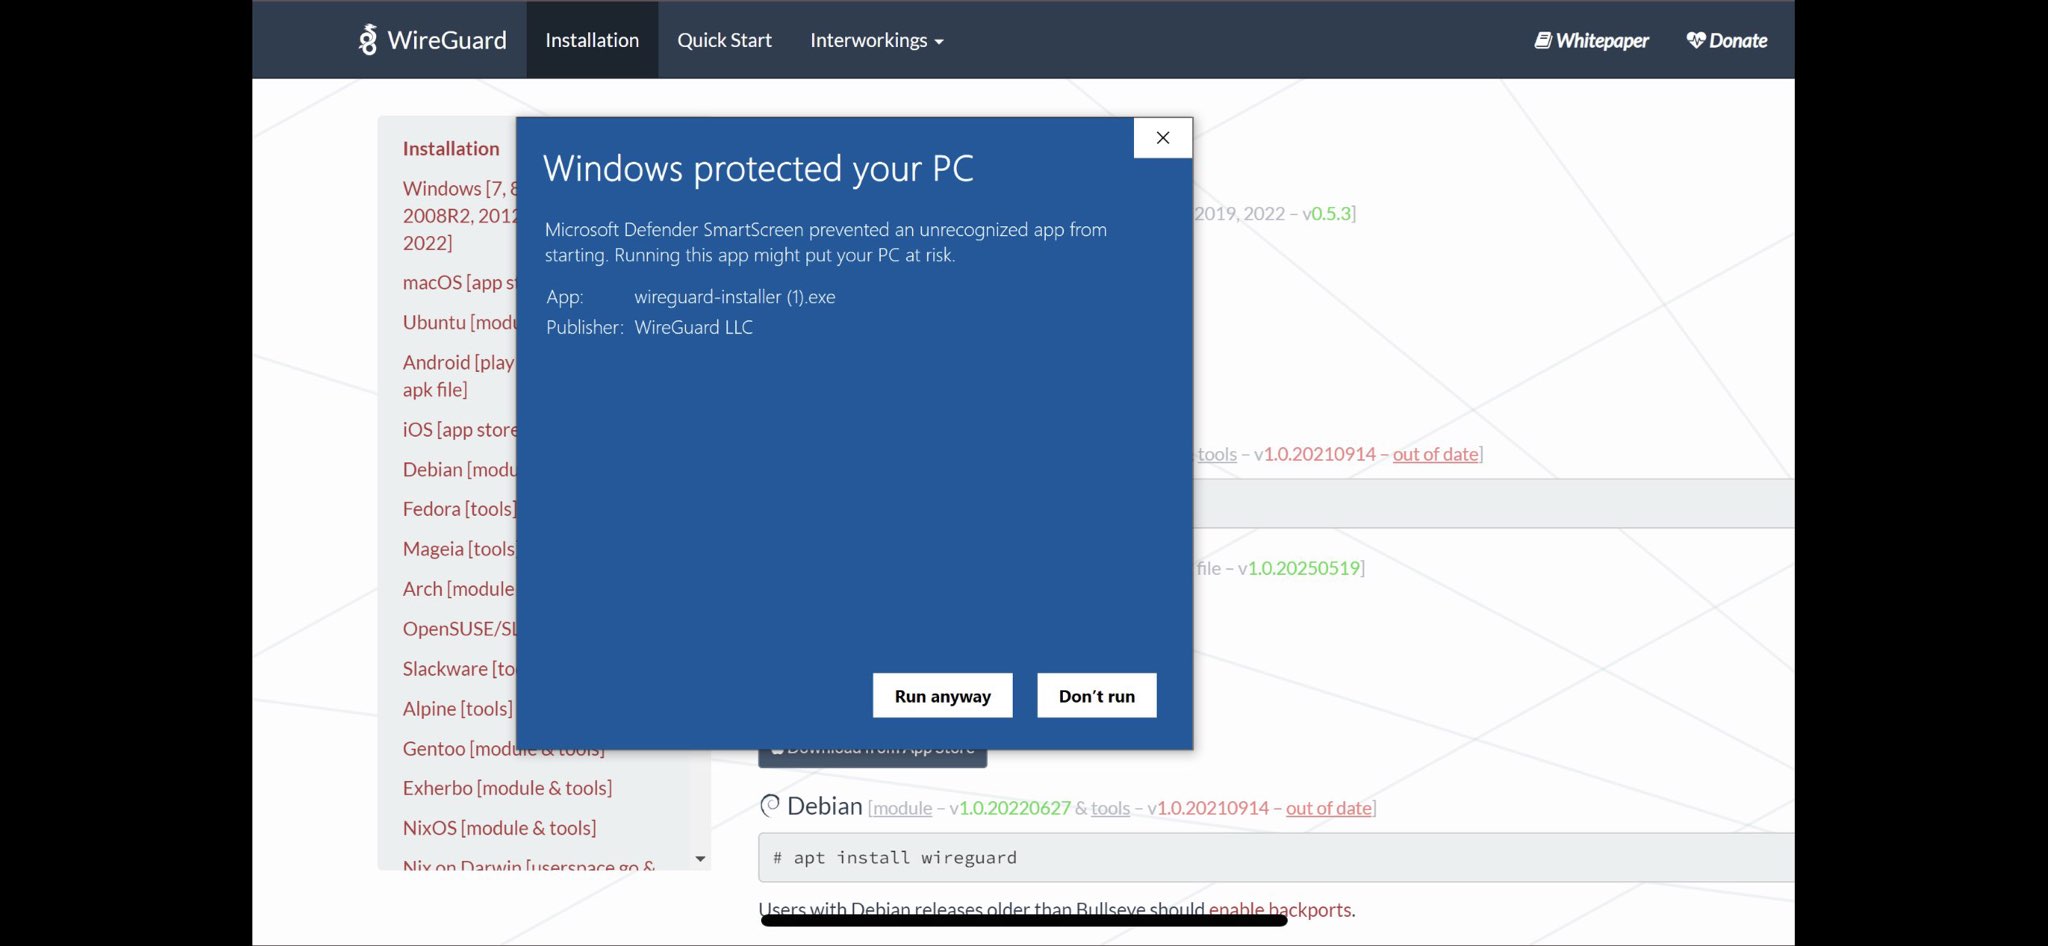
Hit “More Info” to allow
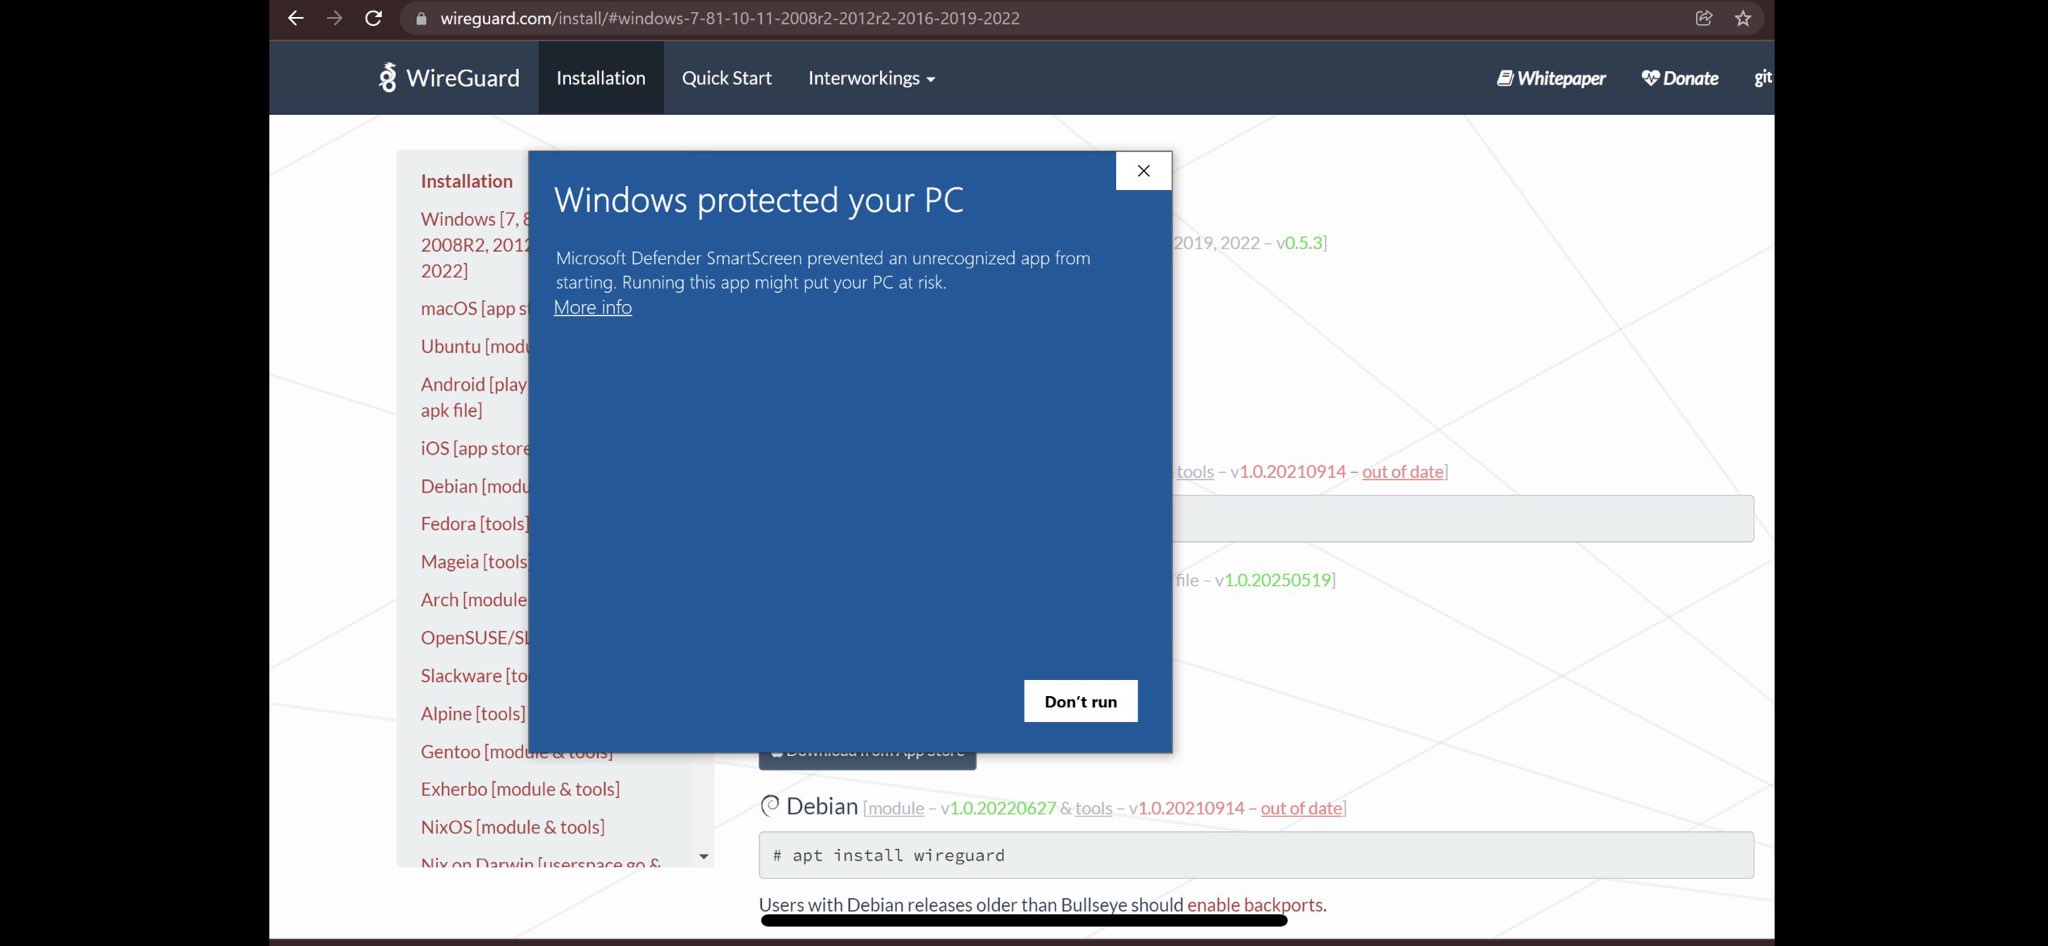
Hit “Run anyway”
This may look slightly different depending on your version of Windows
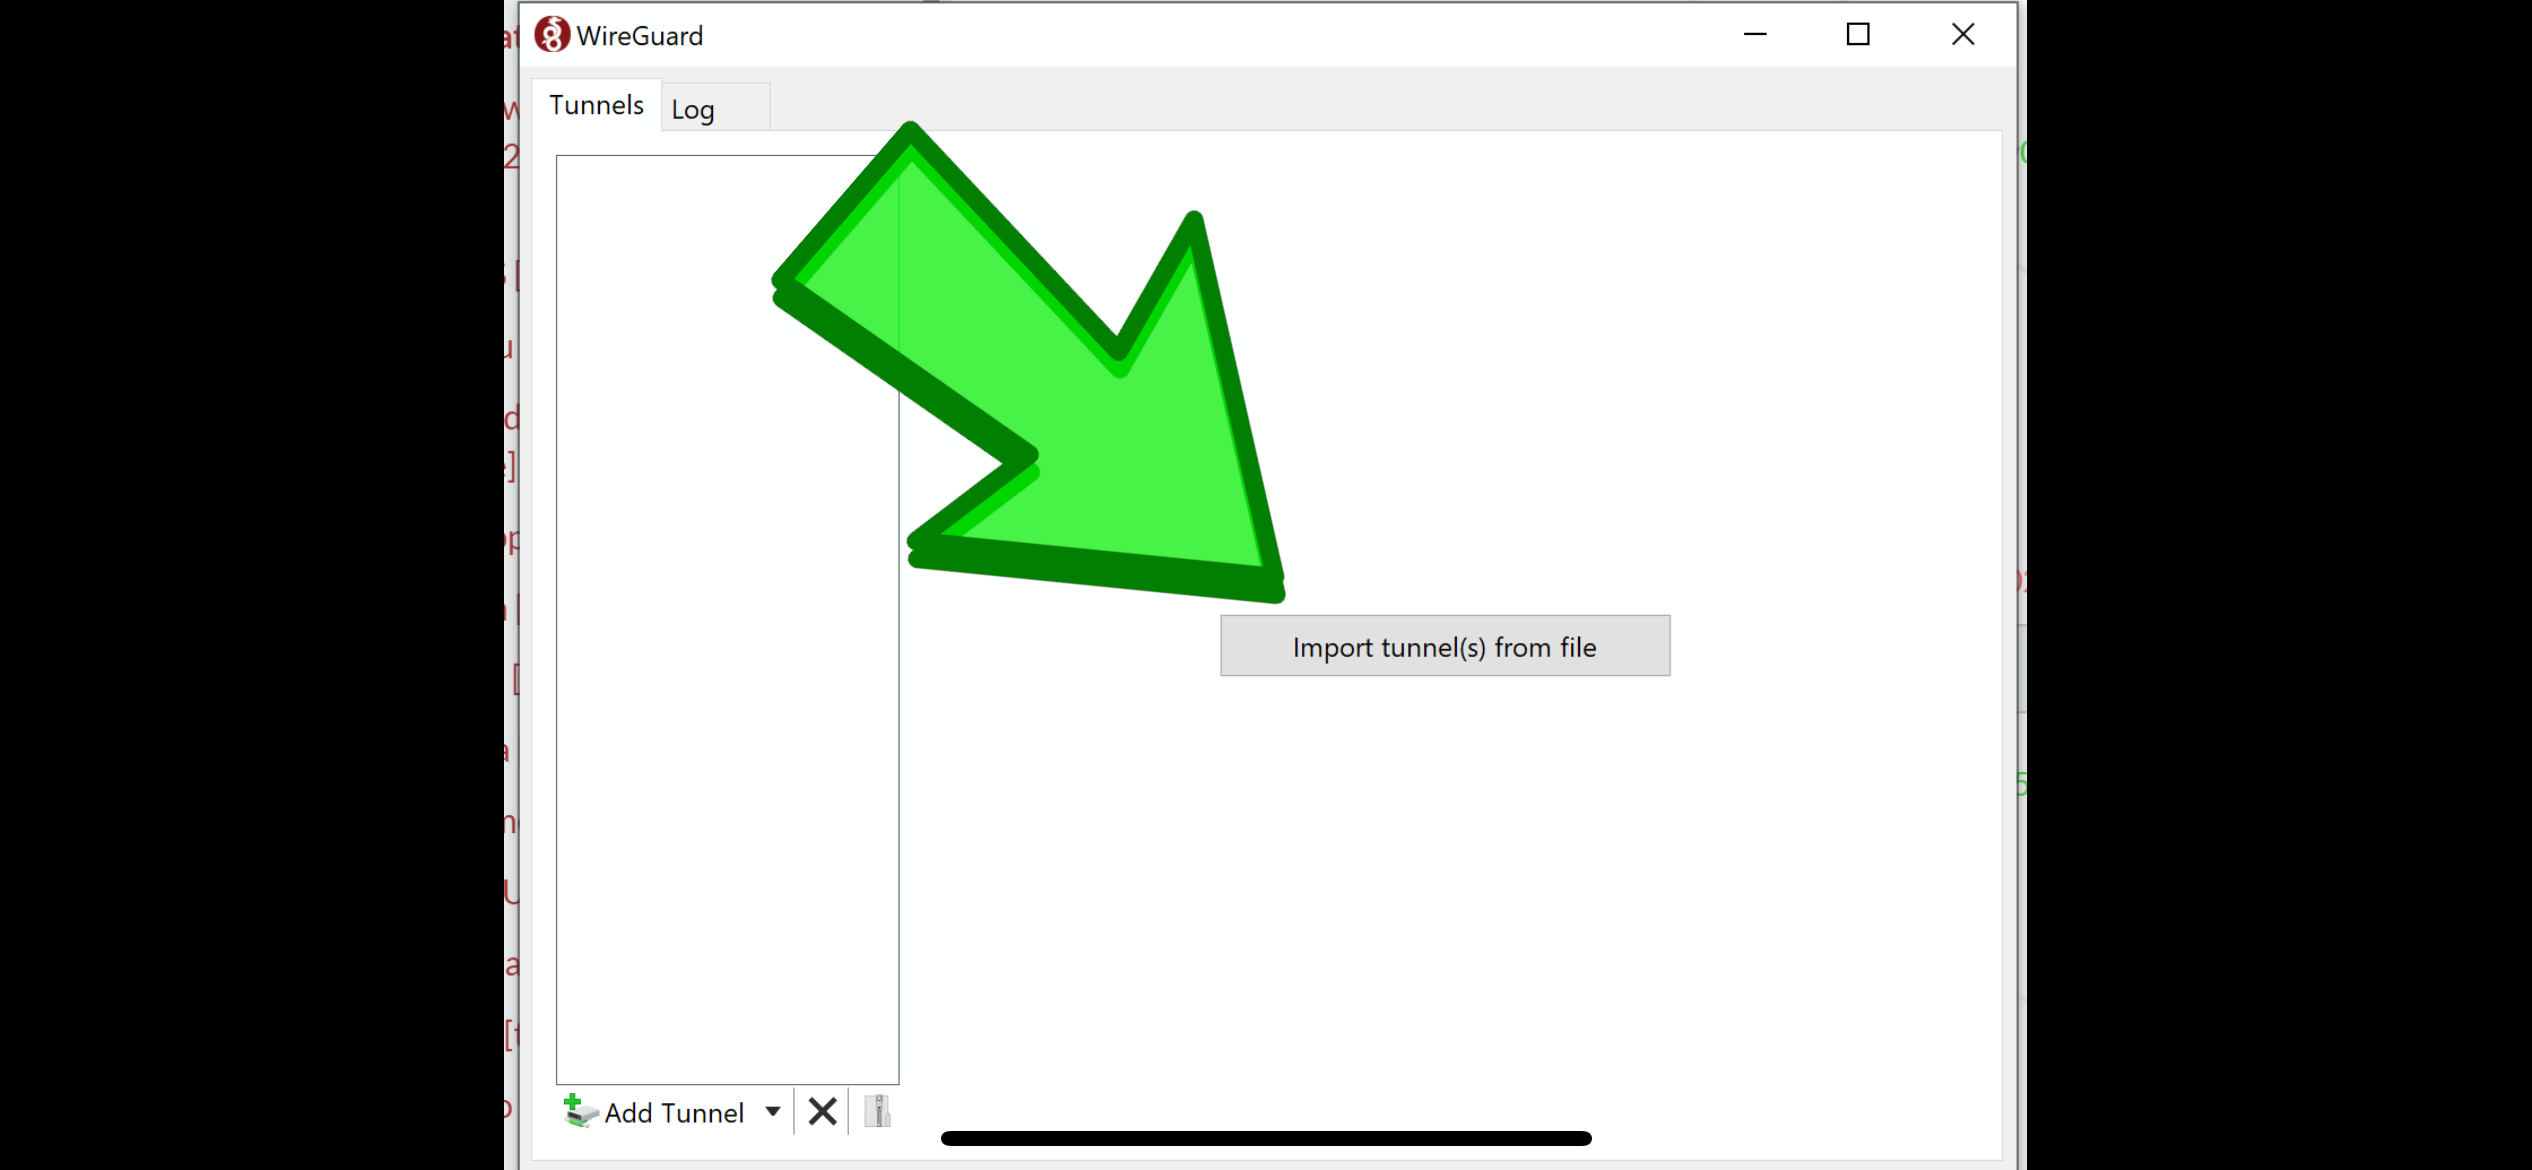
Hit “Import Tunnel from a file”
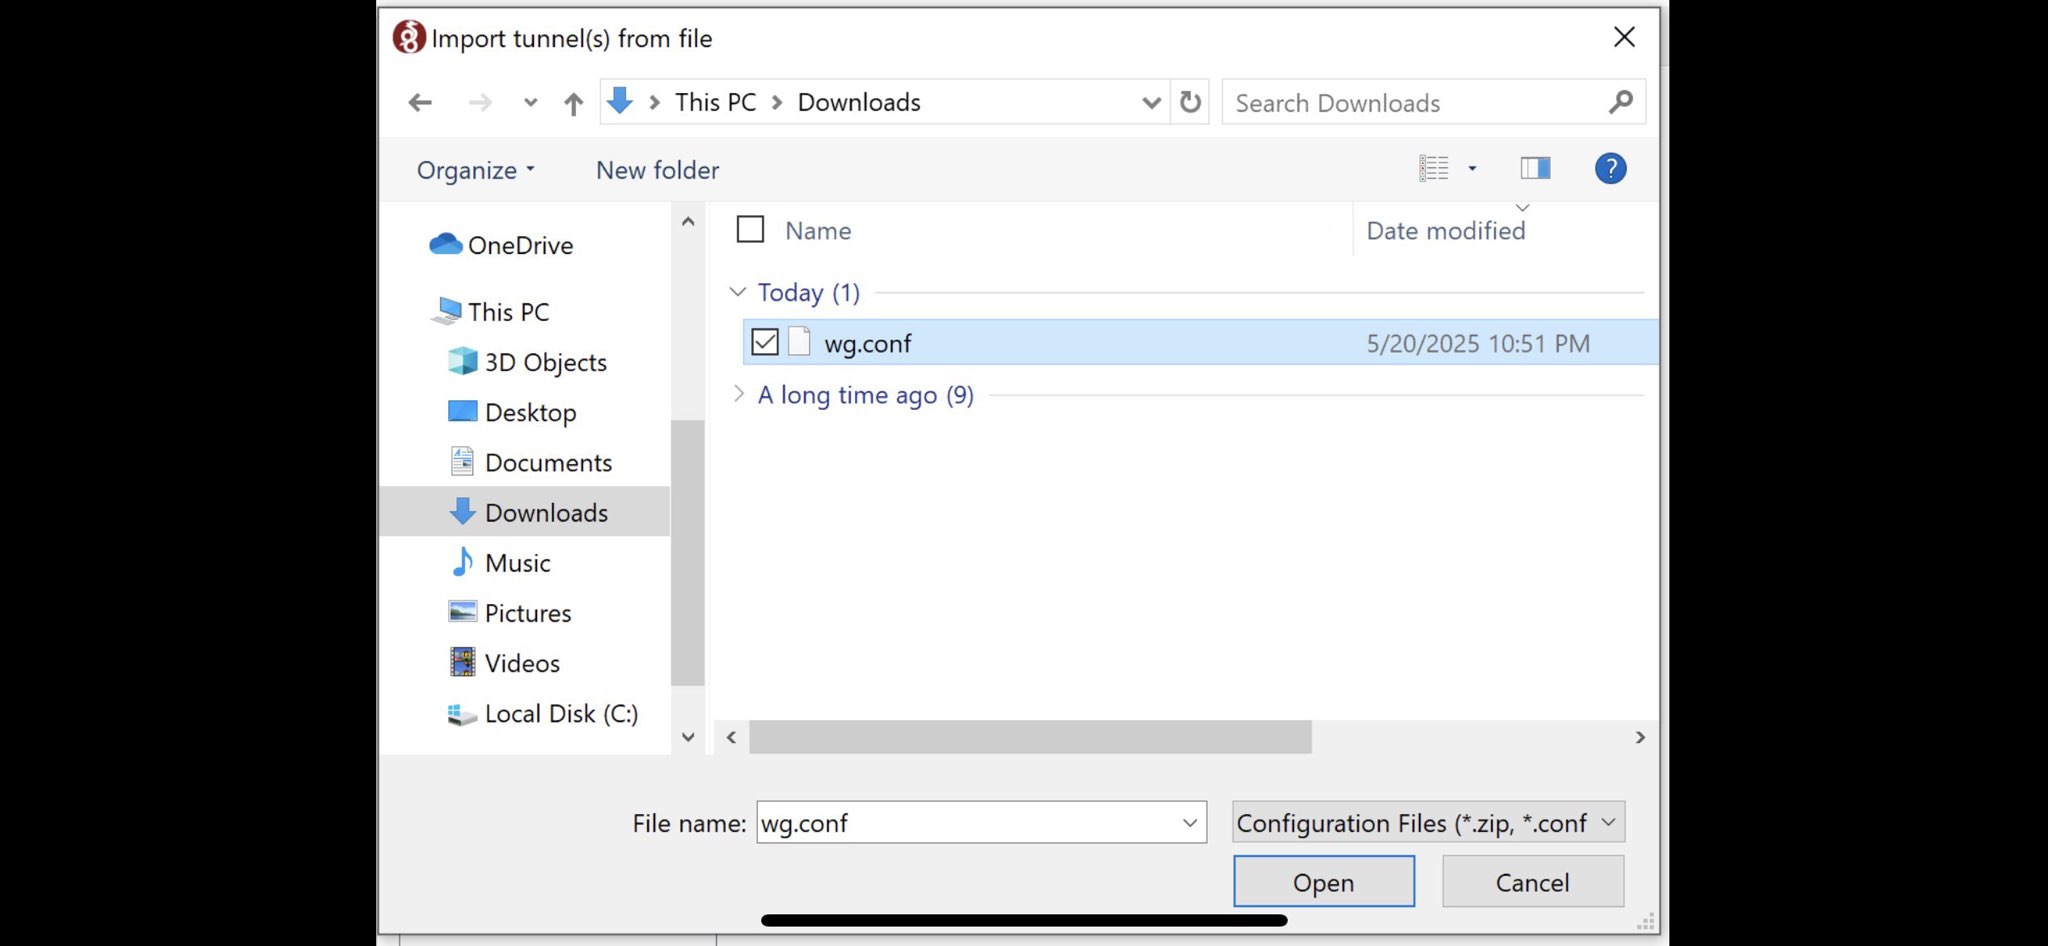
Select the wg .conf file
The file you downloaded earlier in this tutorial from our website
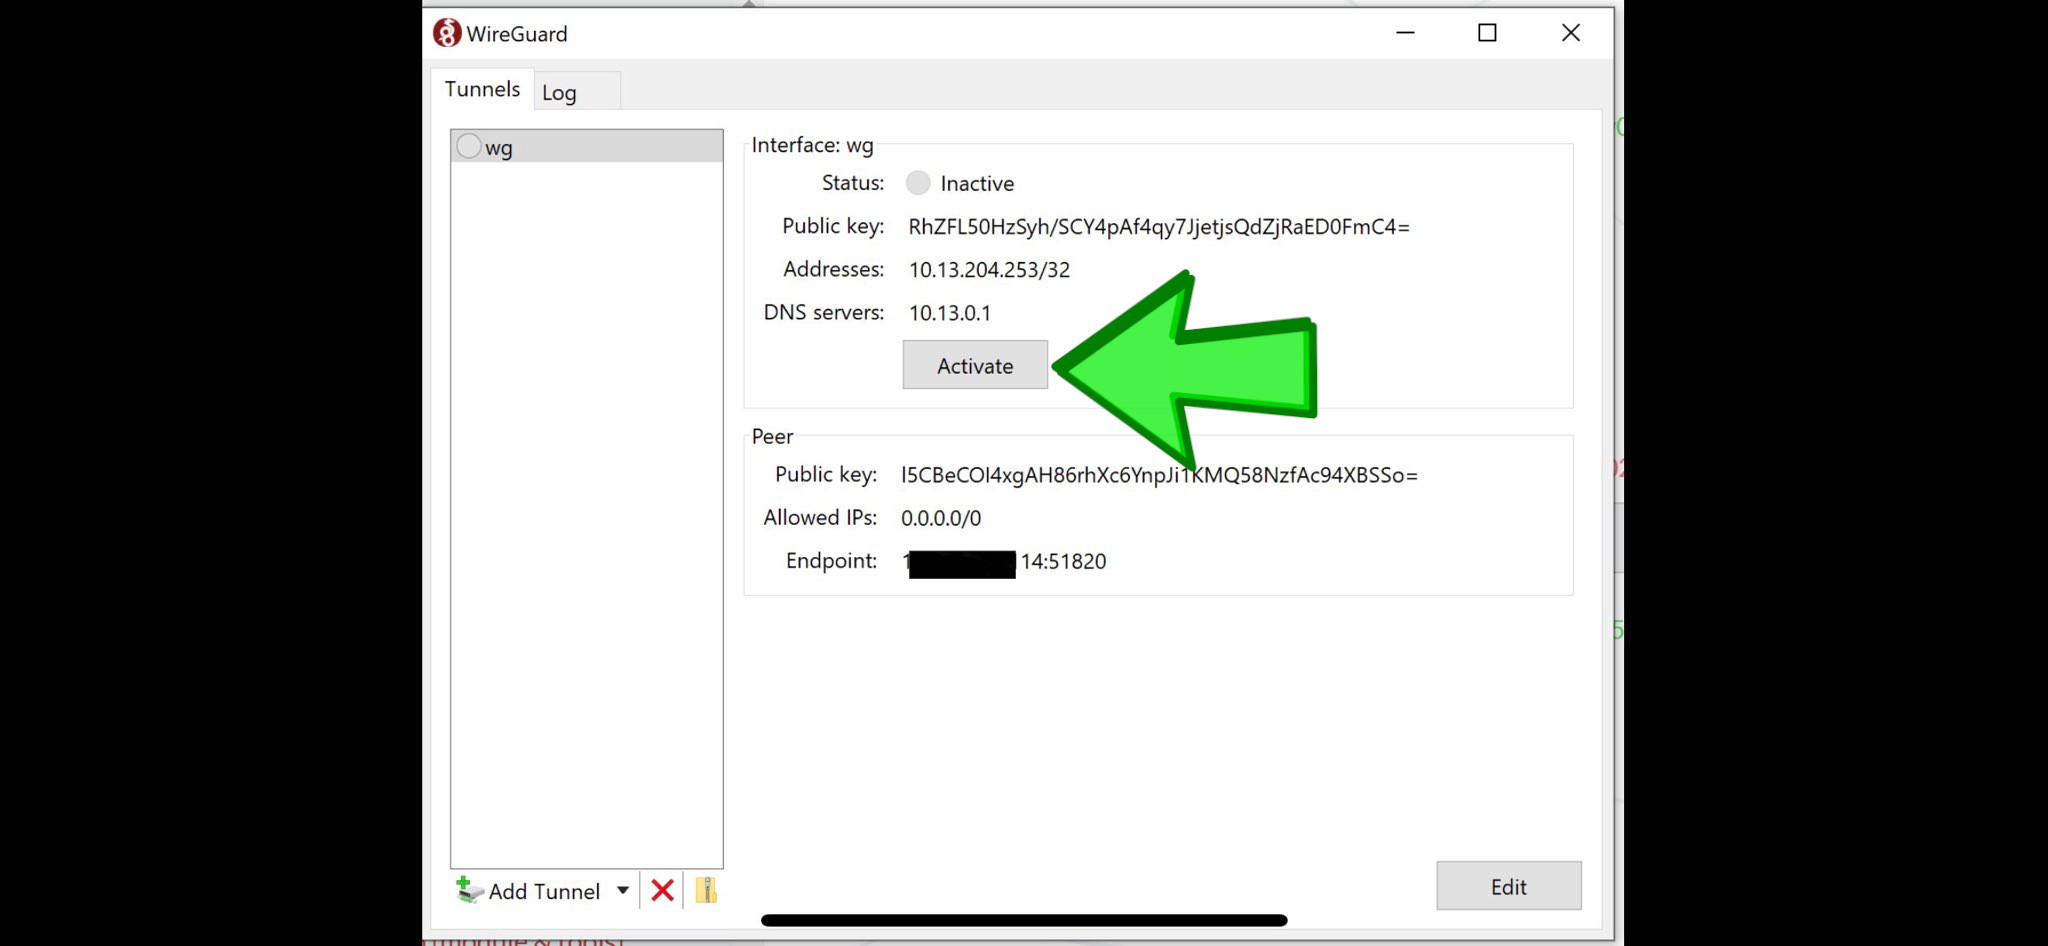
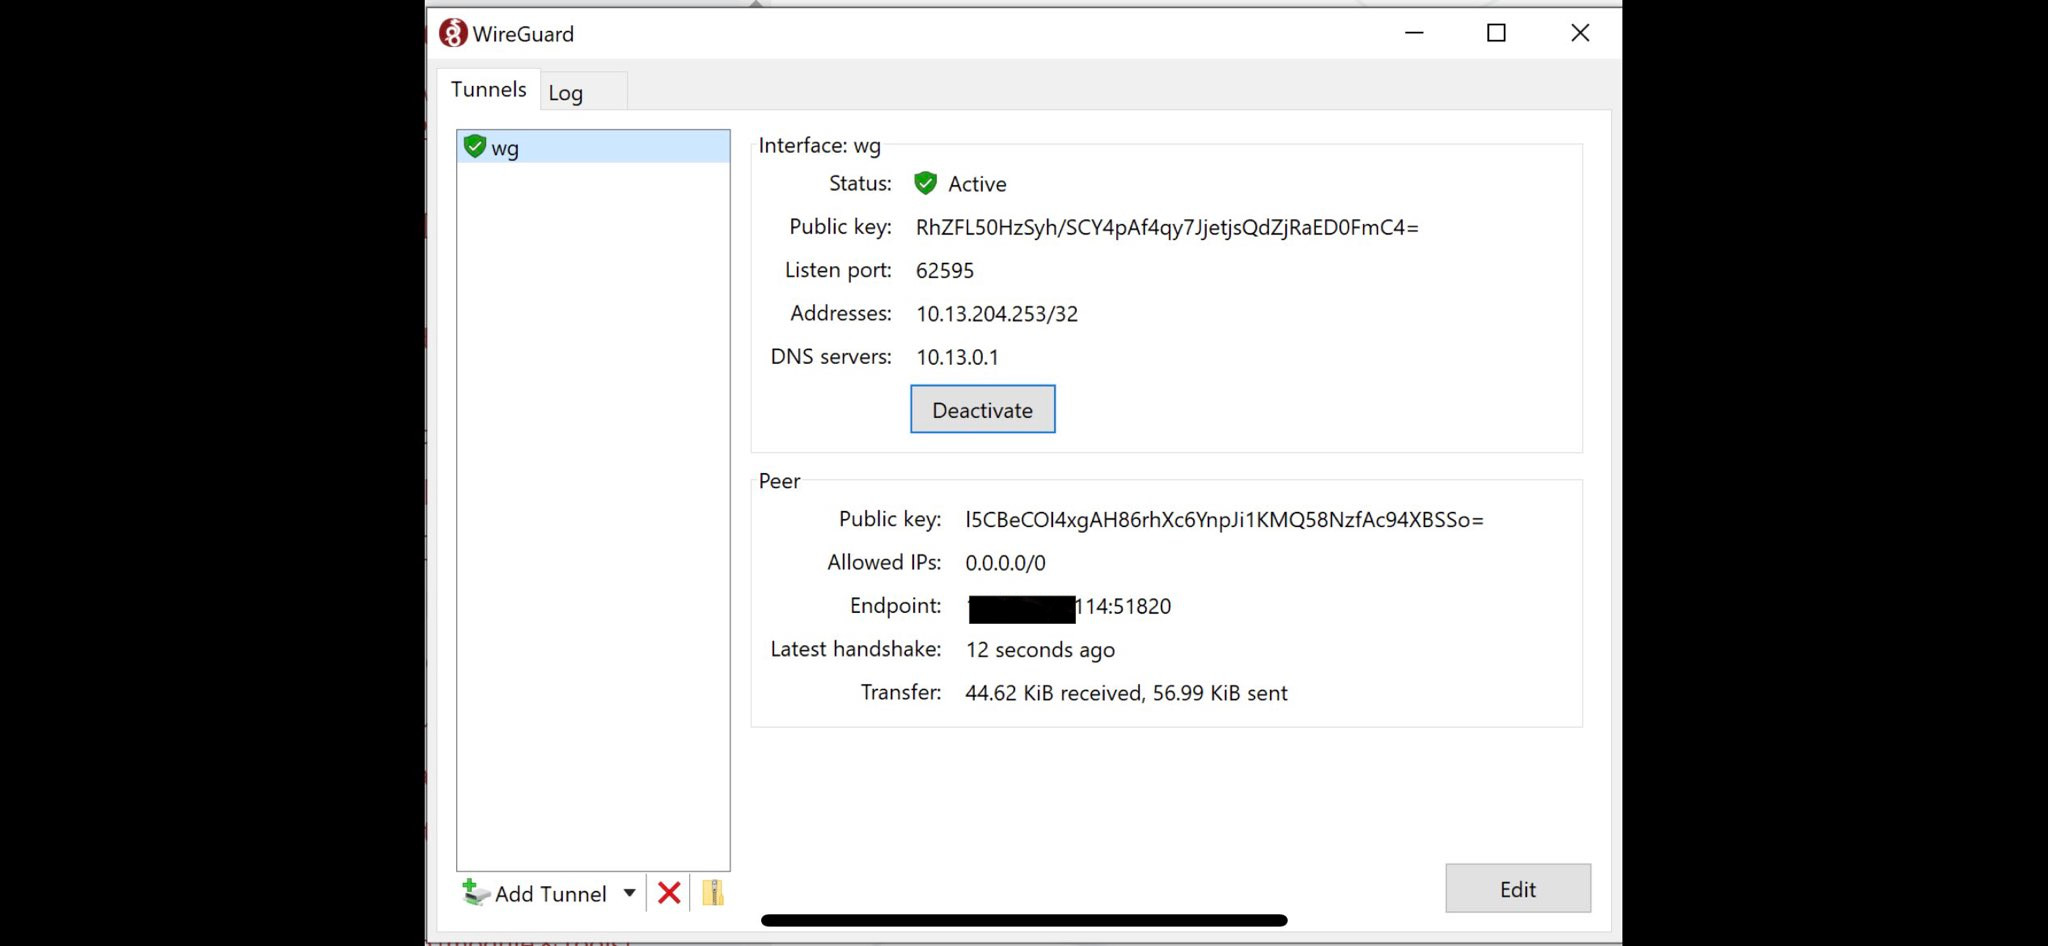
Hit Activate
It will say “Active”
With a green checkmark
Test it
Once connected, please test it on a website like “whatsmyip.com”
If you really want to learn and take your privacy to the next level, Learn about HydraVeil, Access our VPN, and subscribe to our new content via: Arweave Video RSS, Podcast RSS, Session list, Nostr, Bastyon, Article RSS, or join the Signal Group
Related Posts

Tor Sync & Tor Profiles Fixed | Release 2.2.1
Faster Initial App Startup
[SP]
Jan 20, 2026

New Sweden VPN Node
Run by AilliA of XMRBazaar
[SP]
Jan 18, 2026

1 Second Saved | Release 2.1.4
Faster Initial App Startup
[SP]
Jan 16, 2026

It takes a lot to admit you're wrong
But that's what I'm doing today. (v-2-1-1 release)
[SP]
Jan 9, 2026
