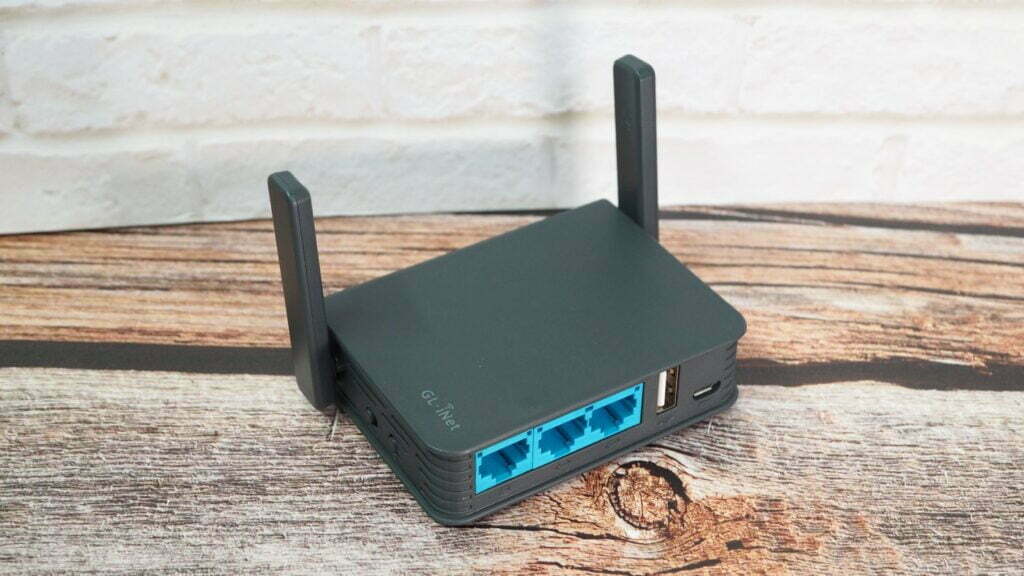
GLiNET VPN Tutorial
2nd Layer of Protection on the Go
Why?
We covered why you might want to use this in a previous article.
Note:
The basic default GLiNET software is a modified version of OpenWRT that is easy to use, but closed source. If you have a very high threat model, you could consider flashing blue merle, or the original openwrt once they release the new version.
However, those who are just putting this on as a second layer, (and it’s only seeing a 2nd encrypted tunnel), might consider just using it as it comes. We also offer a service to flash it for you on supported versions.
Initial Setup:
This can be done on a phone or PC. For this tutorial, I will demonstrate the setup on a phone. But I am assuming that the WiFi is already setup on the GLiNET for you to even connect in on mobile. If it’s not setup, then you’d need to plug an ethernet cable in (as per the basic instructions from GLiNET)
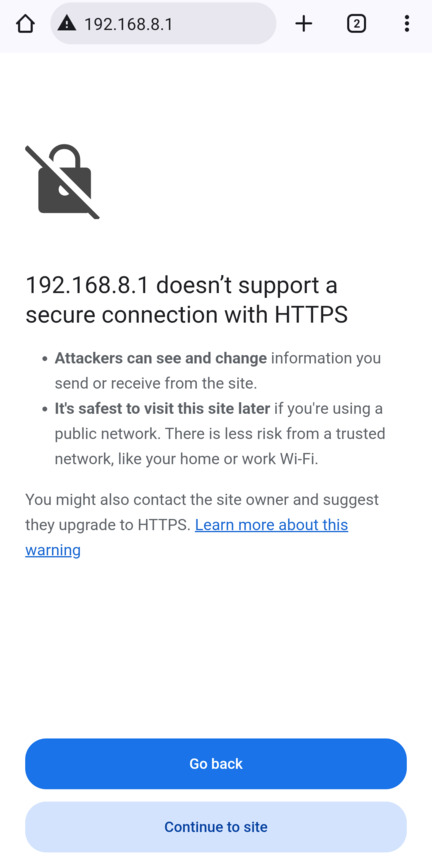
Go to the IP
In a web browser, go the GLiNET IP on the instructions from them. The “192” at the start is for a “local” LAN, which means your internal network. In this example, I set it up to 192.168.8.1 but your’s might be 192.168.1.1. Then because you’re on the LAN, there will be no SSL encryption but that’s okay because it’s local. So hit “Continue to Site”
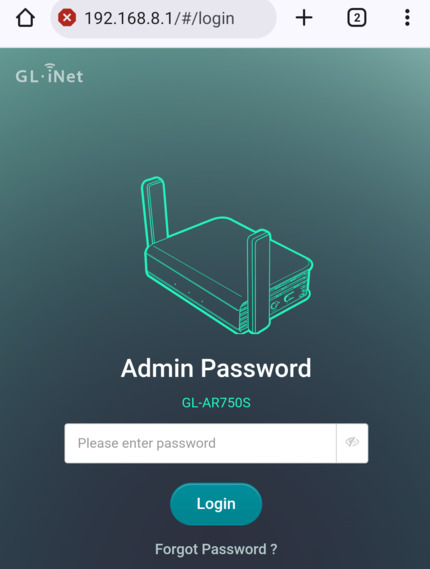
Next enter the password for the admin panel. (This is NOT the wifi password, it’s what you set earlier, or some of them have “goodlife” by default.
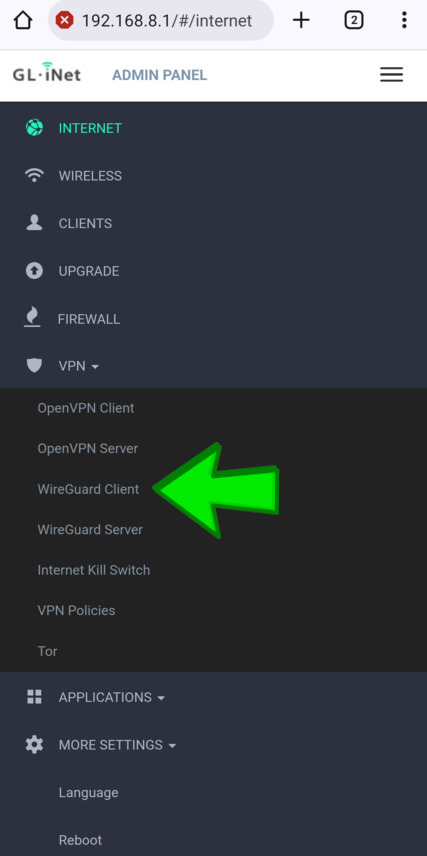
Hit the menu hamburger in the top right, then under “VPN” select “Wireguard Client”
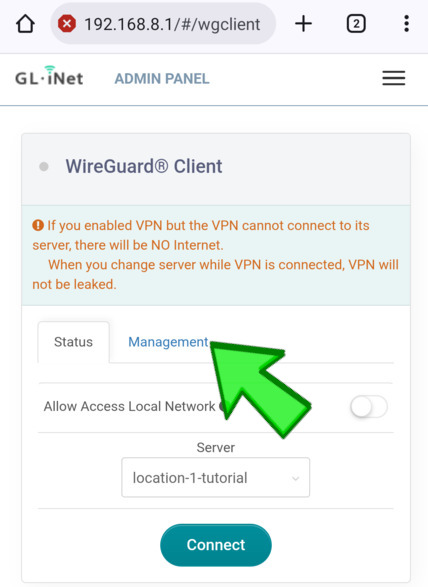
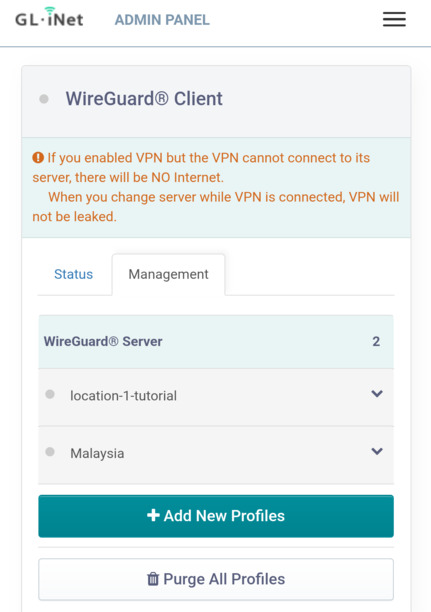
On the WireGuard client page, go to “Management”
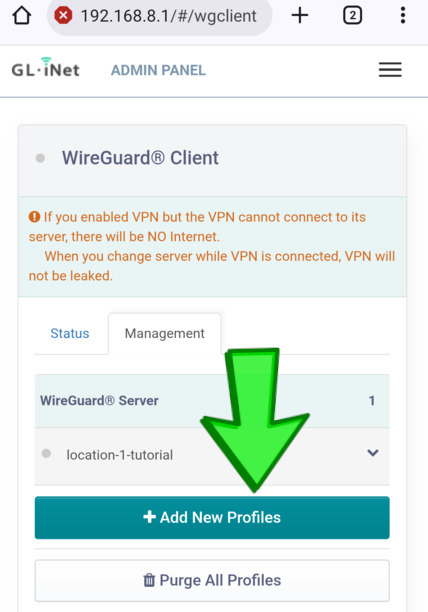
Add a new profile at the bottom,
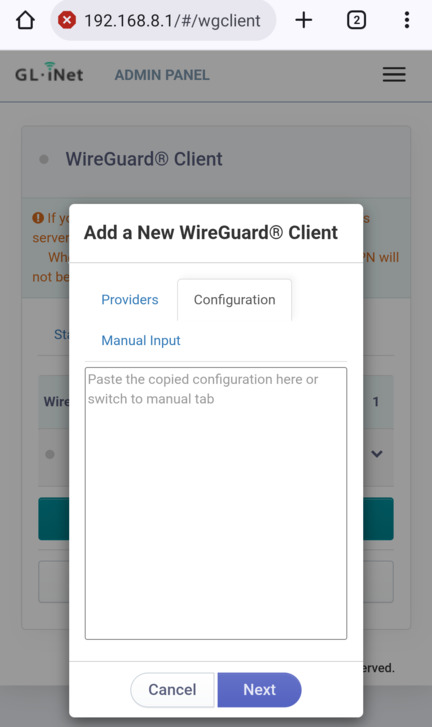
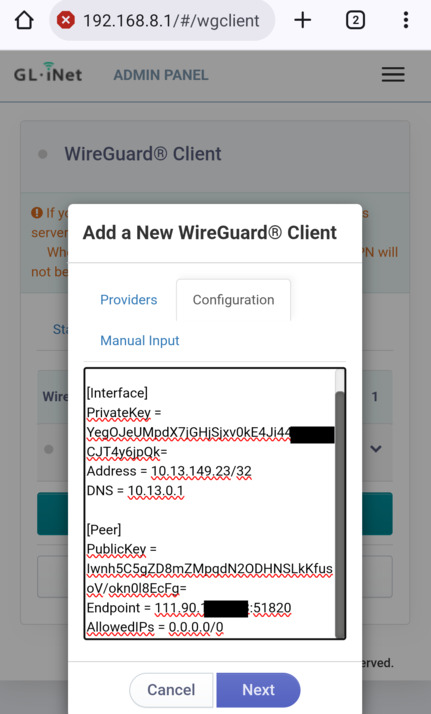
It will then give you the box to copy-paste the text (“config”) in,
SP website
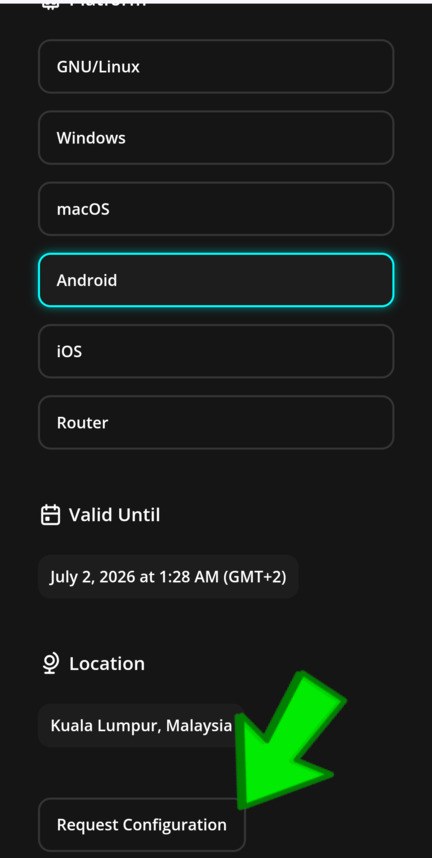
On the Simplified Privacy Billing page, either get a new subscription, or enter a previous code. You want to use a location close to you for a router. Then hit “request config”
Copy-paste all the text here, or download it to a text file to do so.
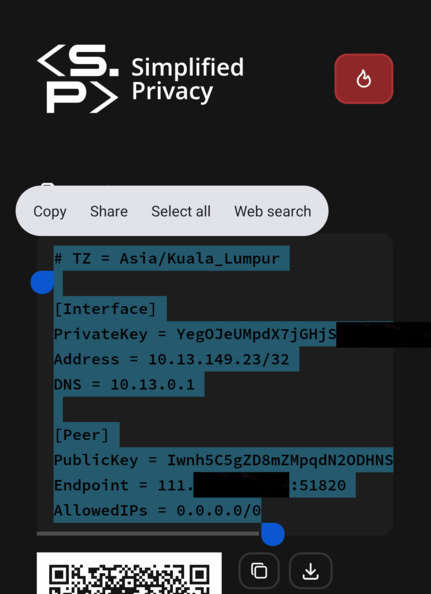
Paste it from the Simplified Privacy website, into the GLiNET box.
Pick a name and hit ok. It should show up. Mine is named “Malaysia” here.
Go to the “status” page and select the new location from the dropdown.

Then hit connect:

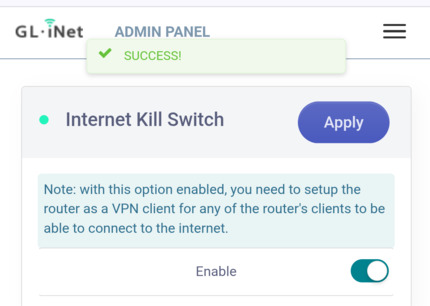
Kill Switch
It’s very important to turn the kill switch on, to prevent leaking. This kills the internet if it can’t connect to the VPN.
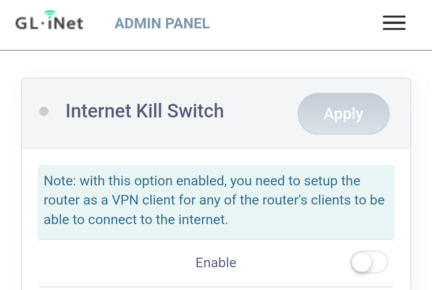
Go to the top right hamburger menu, then again under “VPN” select kill switch. And hit enable.
Test
Test your IP on any IP checking website.
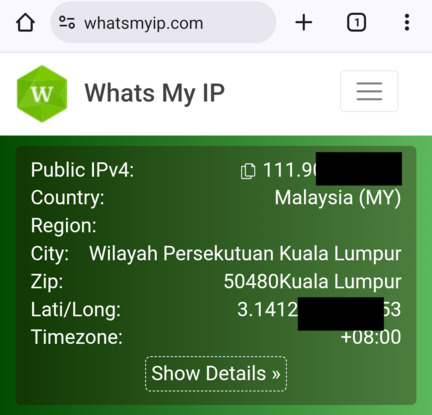
This is only the most basic feature of the VPN, there are many other features and options for you to explore.
If you really want to learn and take your privacy to the next level, Learn about HydraVeil,
Access our VPN, and subscribe to our new content via:
Podcast,
Email List,
Nostr,
Bastyon,
RSS,
or join the Signal Group
Related Posts

Epic Firewall | HydraVeil 2.6.7
We're laying the foundation for multi-protocol obfuscation with advanced firewall features.
[SP]
Jul 28, 2026

Improved Tor Sync & Error Handling | HydraVeil 2.5.7
Solved Tor compatability problems for many distros, and improved database handling.
[SP]
Jul 19, 2026
Blazing Fast UI Upgrade | HydraVeil 2.5.2
No longer does the client fetch all data, but only what changed!
[SP]
Jun 24, 2026

Anonymous Tickets | HydraVeil Release 2.2.6
HydraVeil adds a new privacy-focused billing system.
[SP]
May 23, 2026